Monday, May 30, 2011

In Honor Of Memorial Day: Easy American Flag Craft

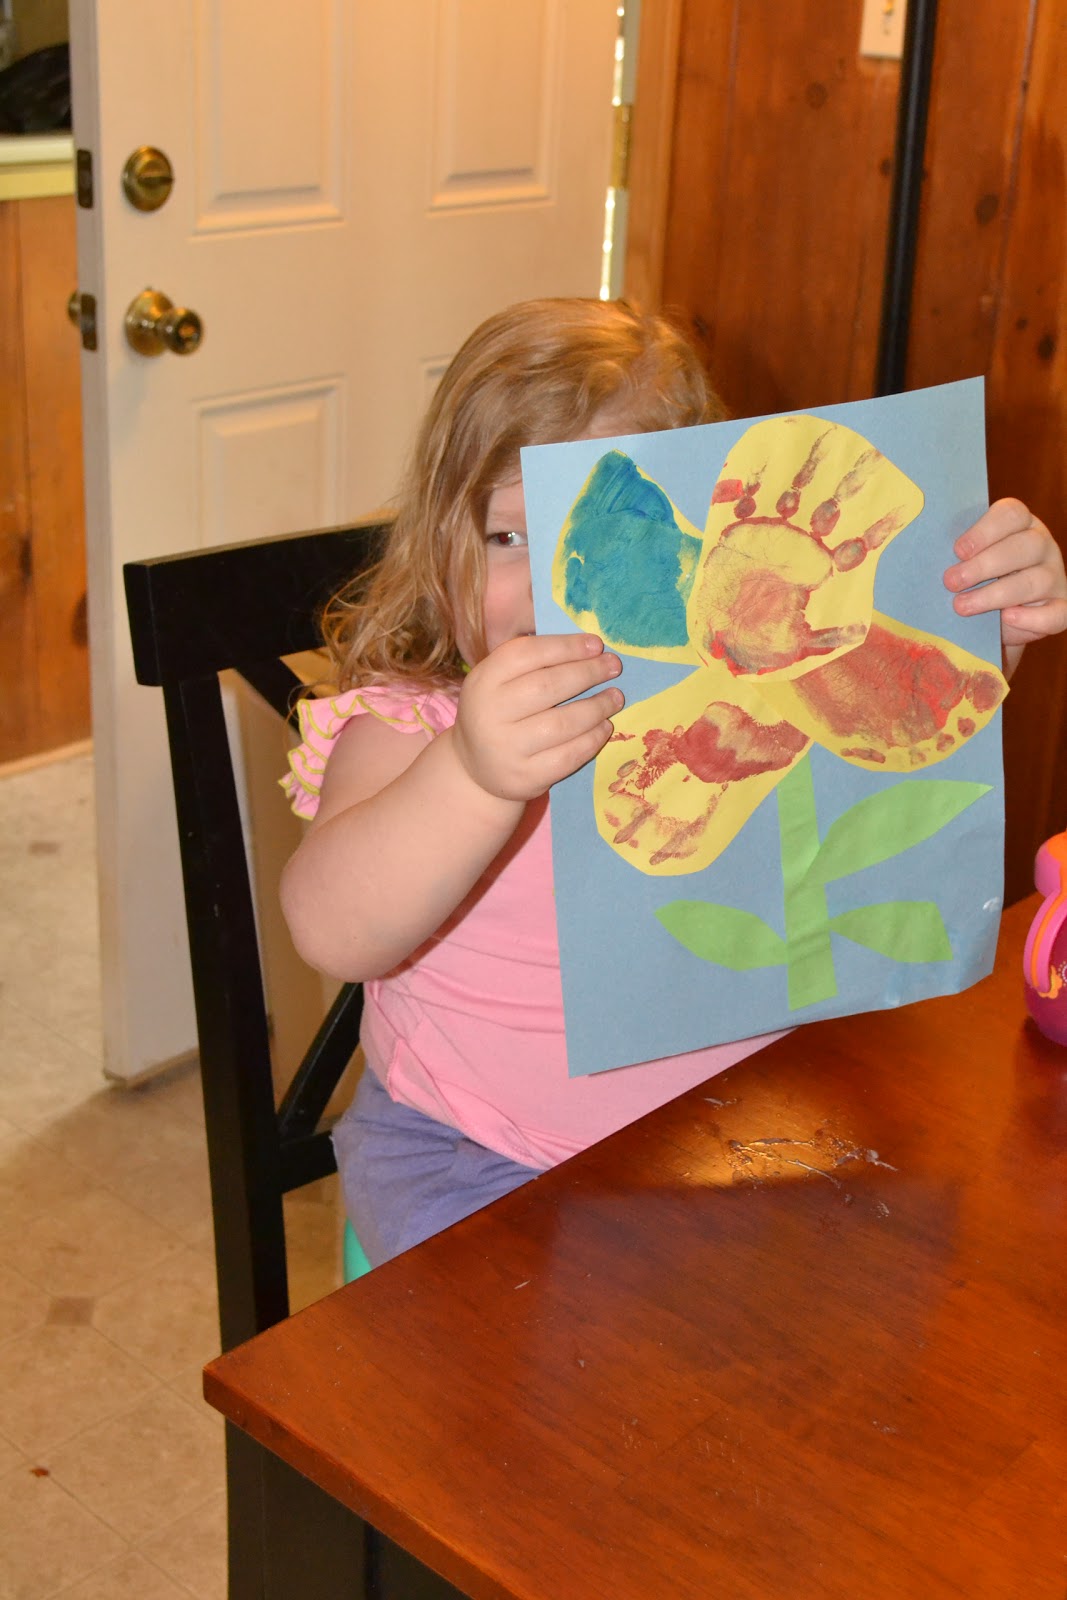
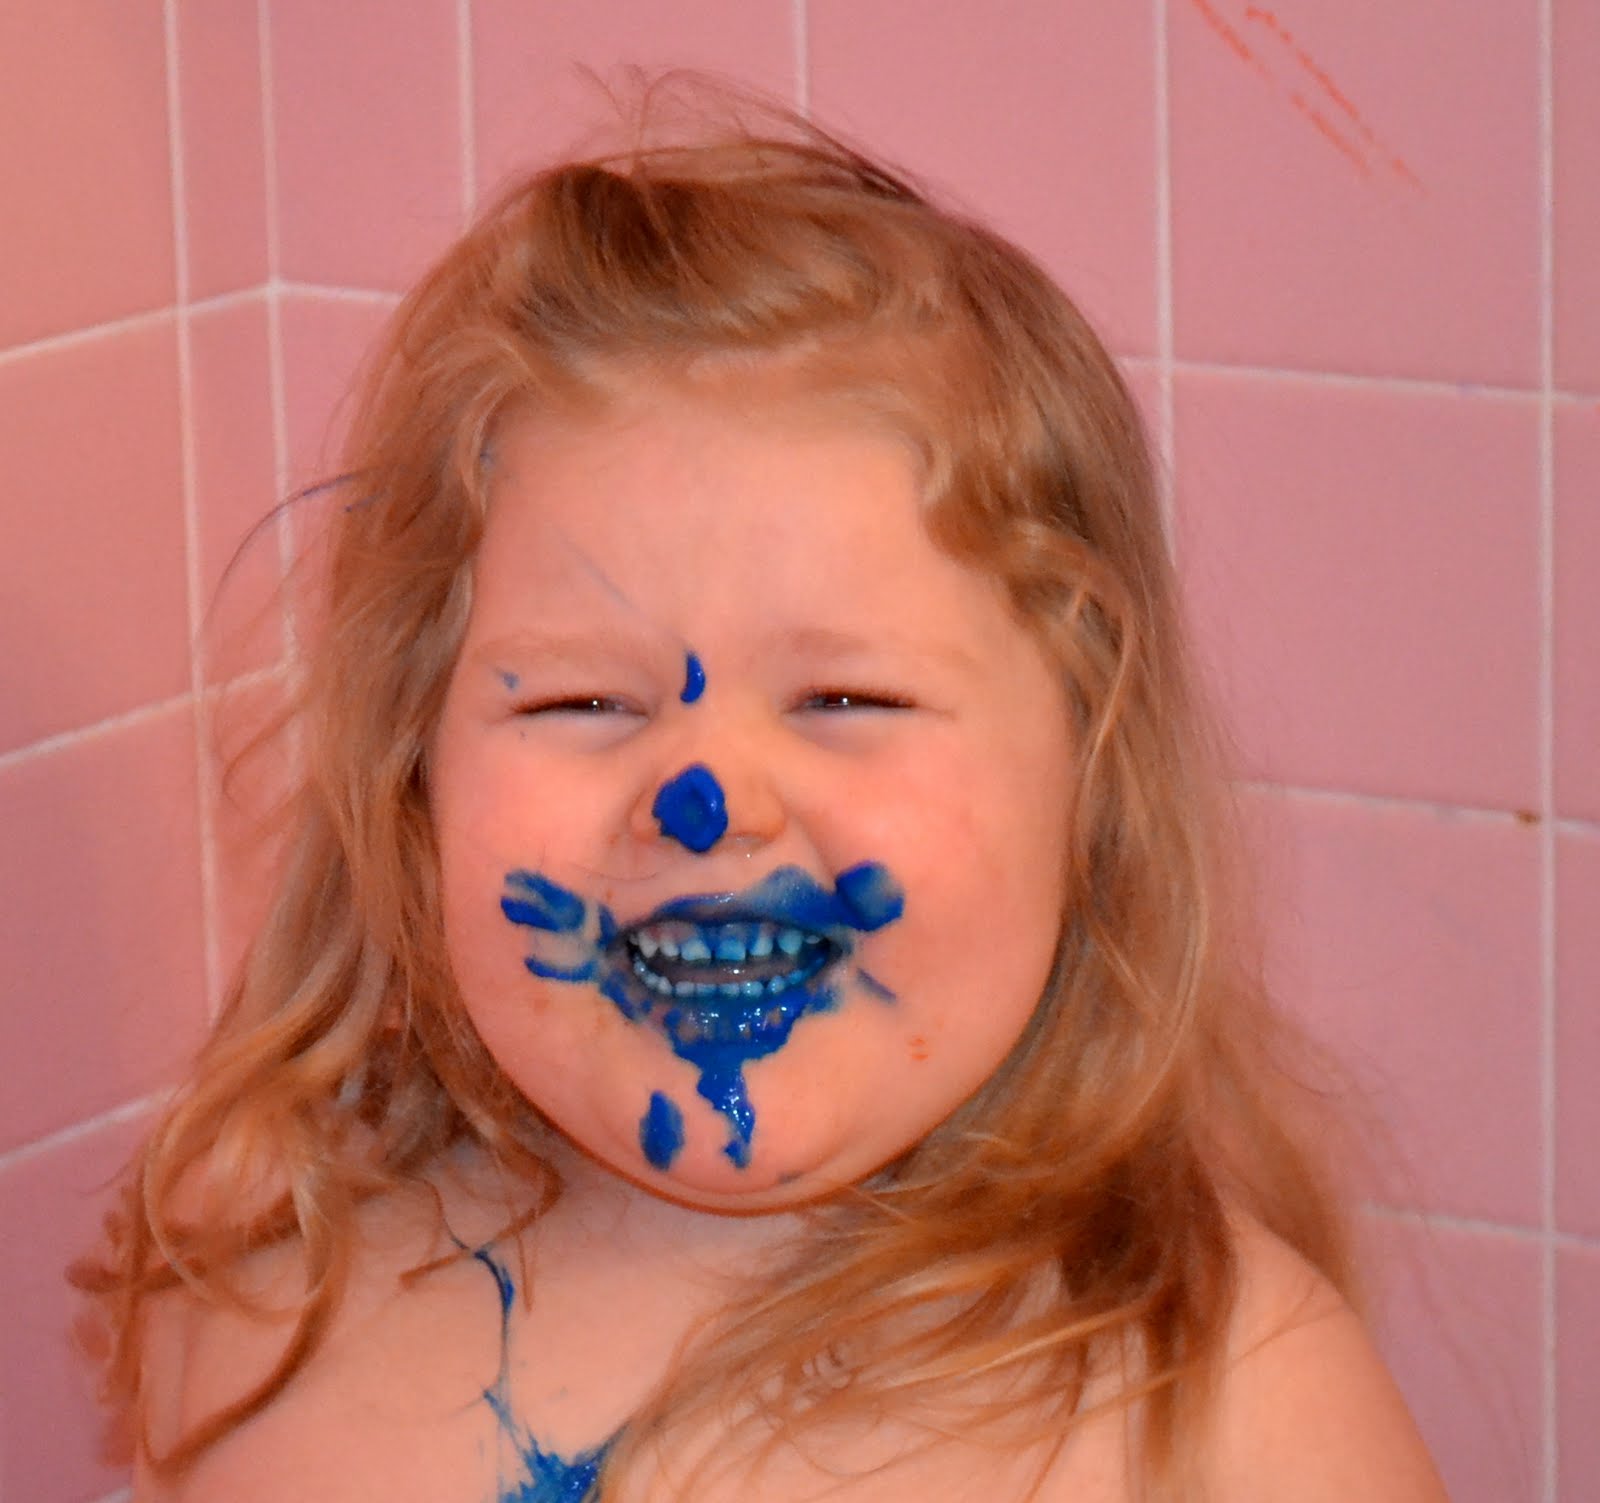
In honor of Memorial Day and all of those that have given their lives for our freedom, and those who are currently serving, I decided that we would make American flags today. (This was right after breakfast so please excused the messy hair.)They are a rather modified version of the American flag, but still a great patriotic craft for little ones of any age to help them understand what this special day means and to incite a little patriotism in their hearts and minds.
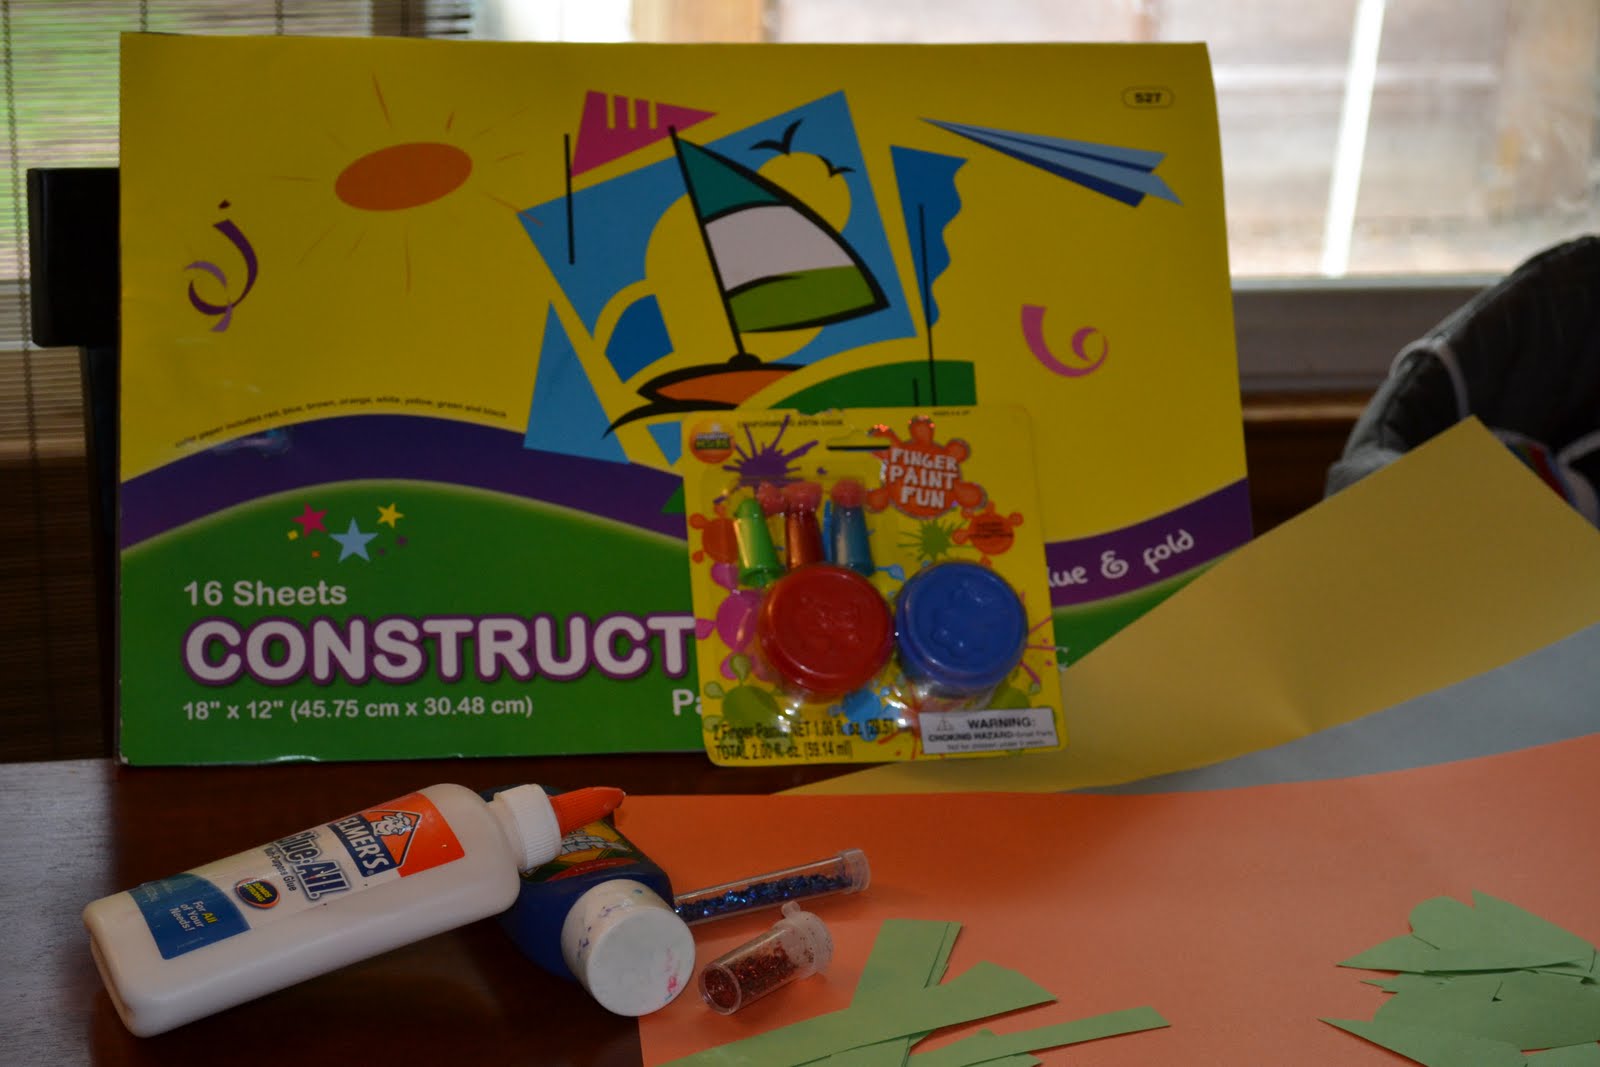
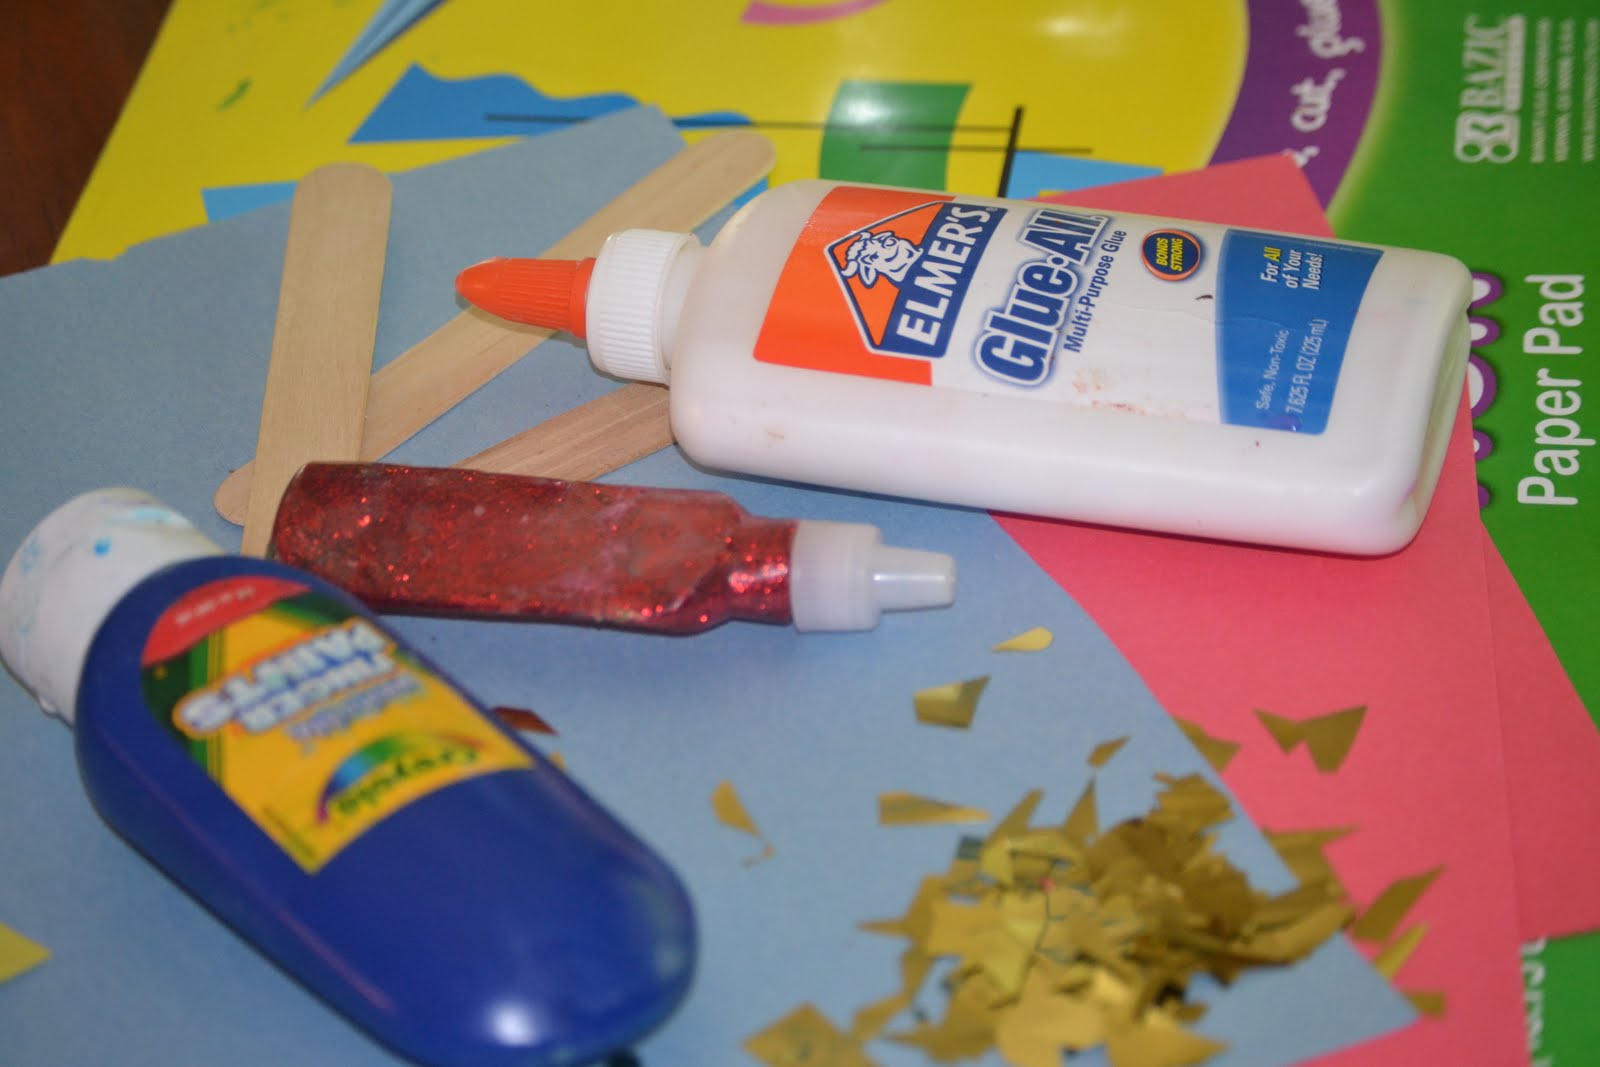
What you will need: Construction paper in red or blue. Tongue Depressors. Red and blue glitter. I used gold foil confetti to represent stars, but if you had construction paper stars, or even star confetti would be awesome; or silver or gold glitter would work, too. We also used blue finger paint.

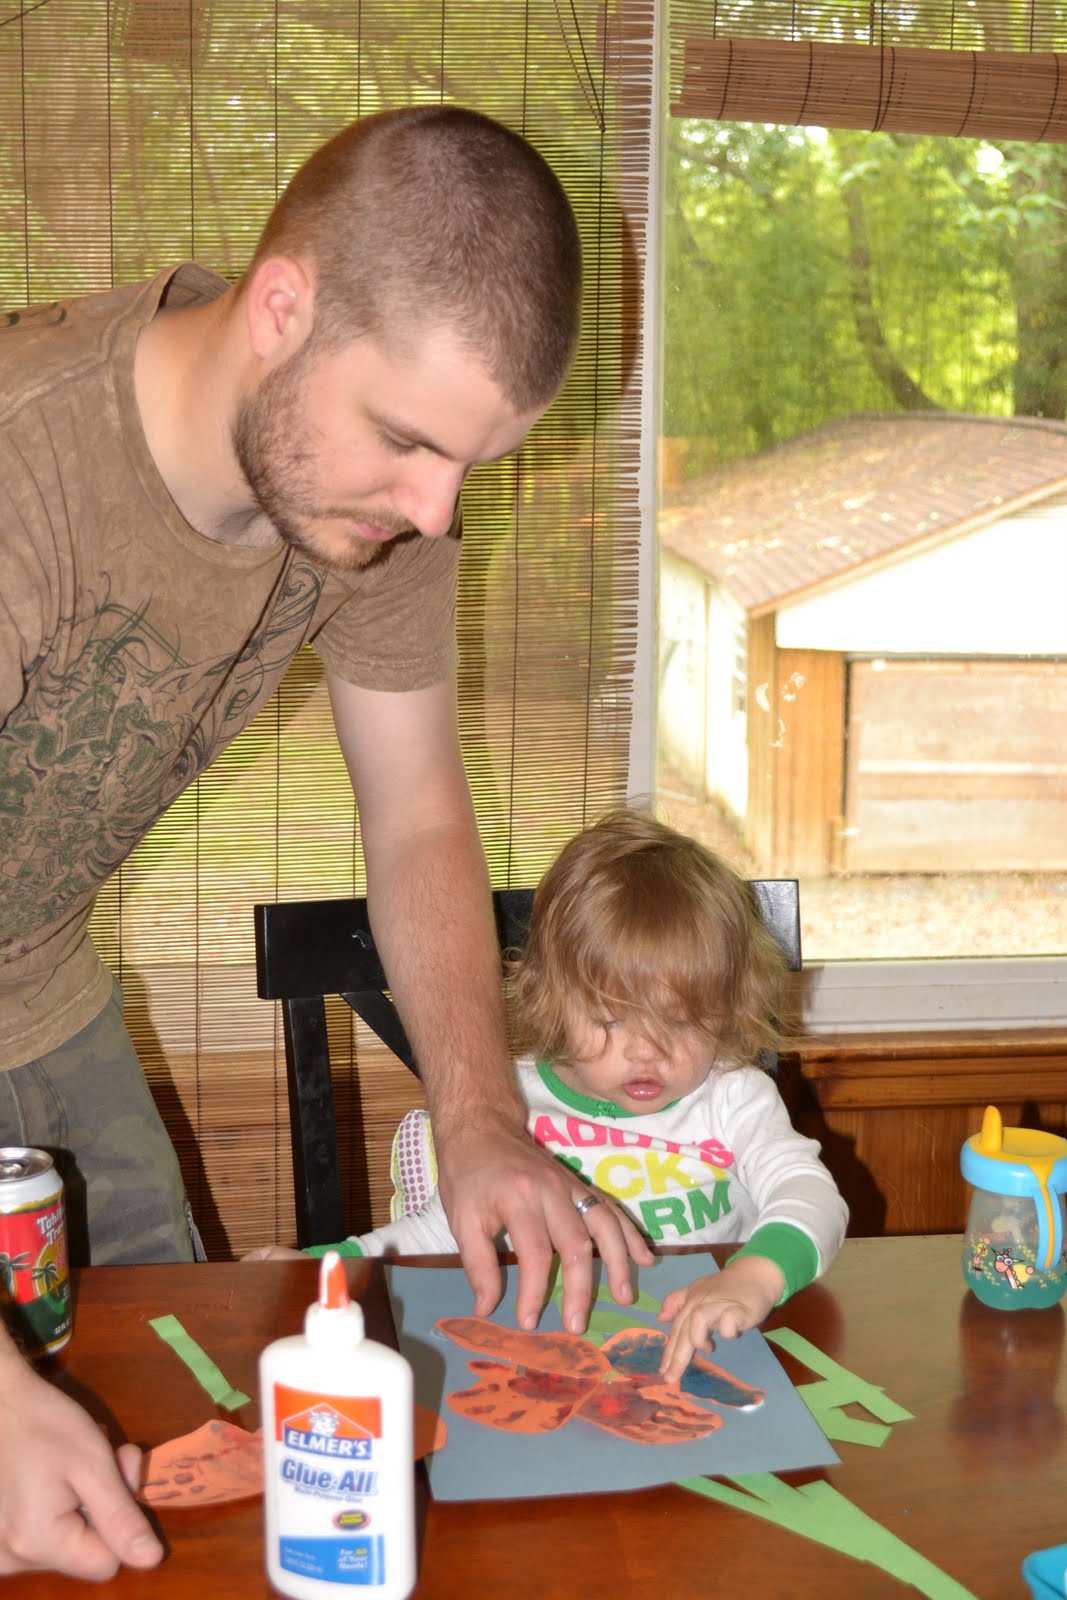
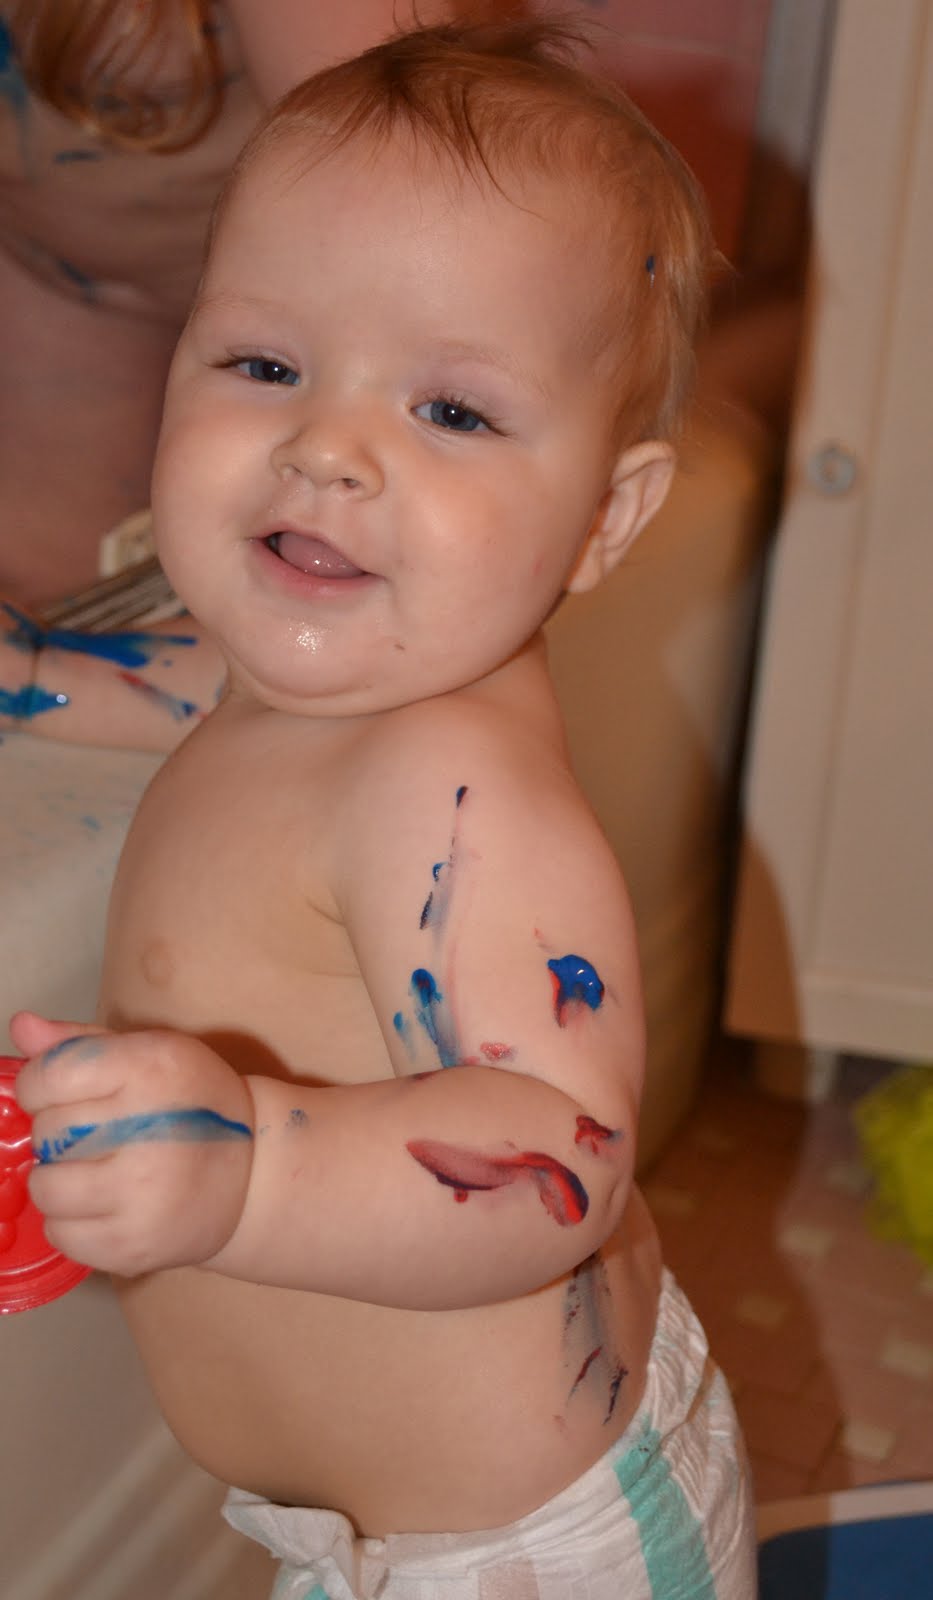
We started off fingerpainting; something easy enough that my 9 month old could do.


Zaeva and Xanthe opted for paintbrushes and I'd like to think this somewhat minimized our messiness.

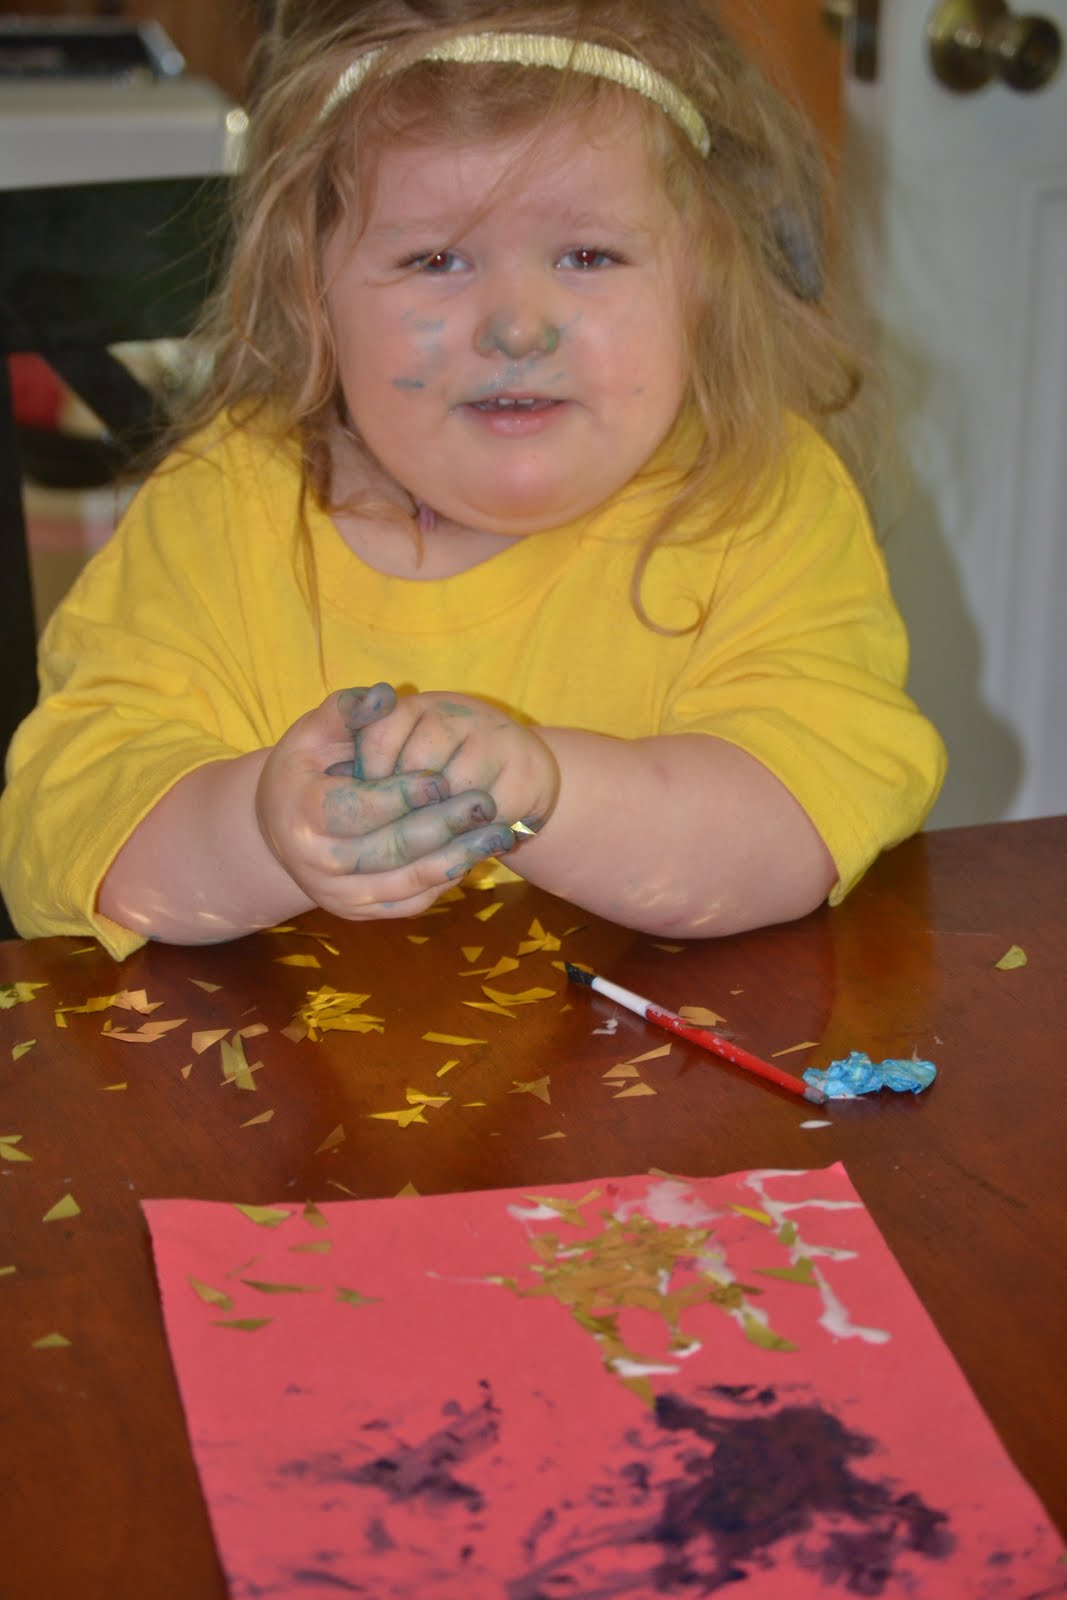
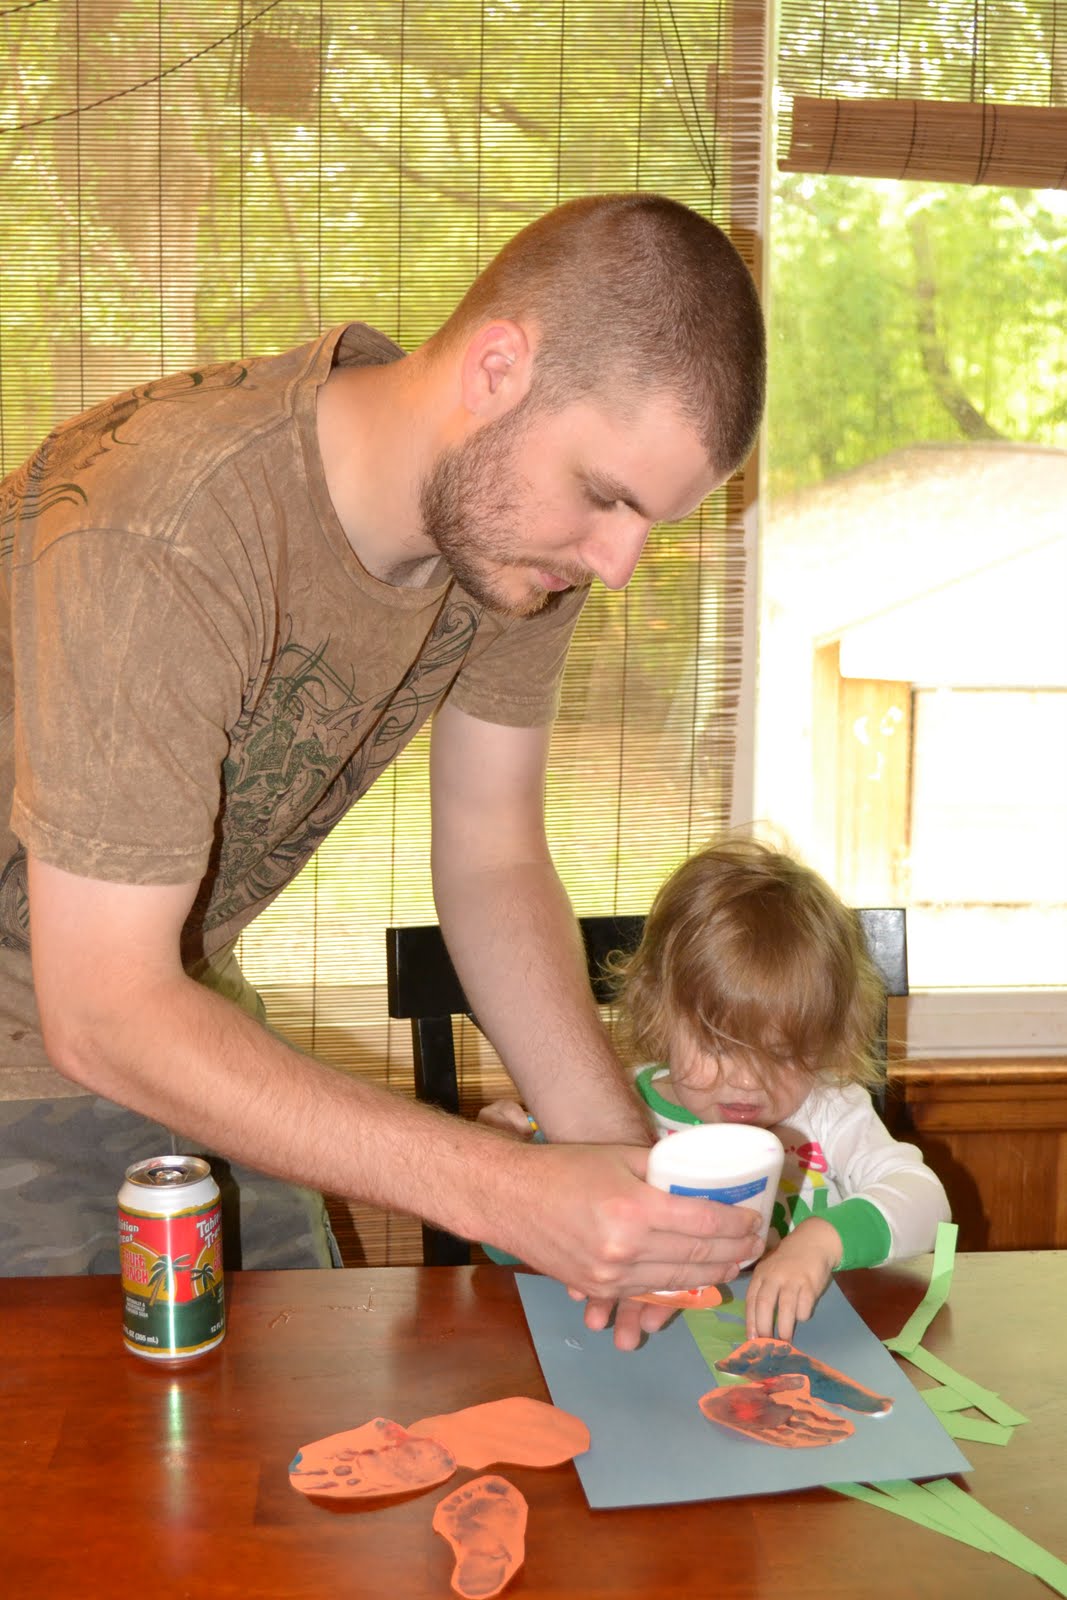
After the fingerpaint, I put rows of glue in the upper left hand corner of their paper so that they could past their "stars" (pieces of gold foil) on them. 

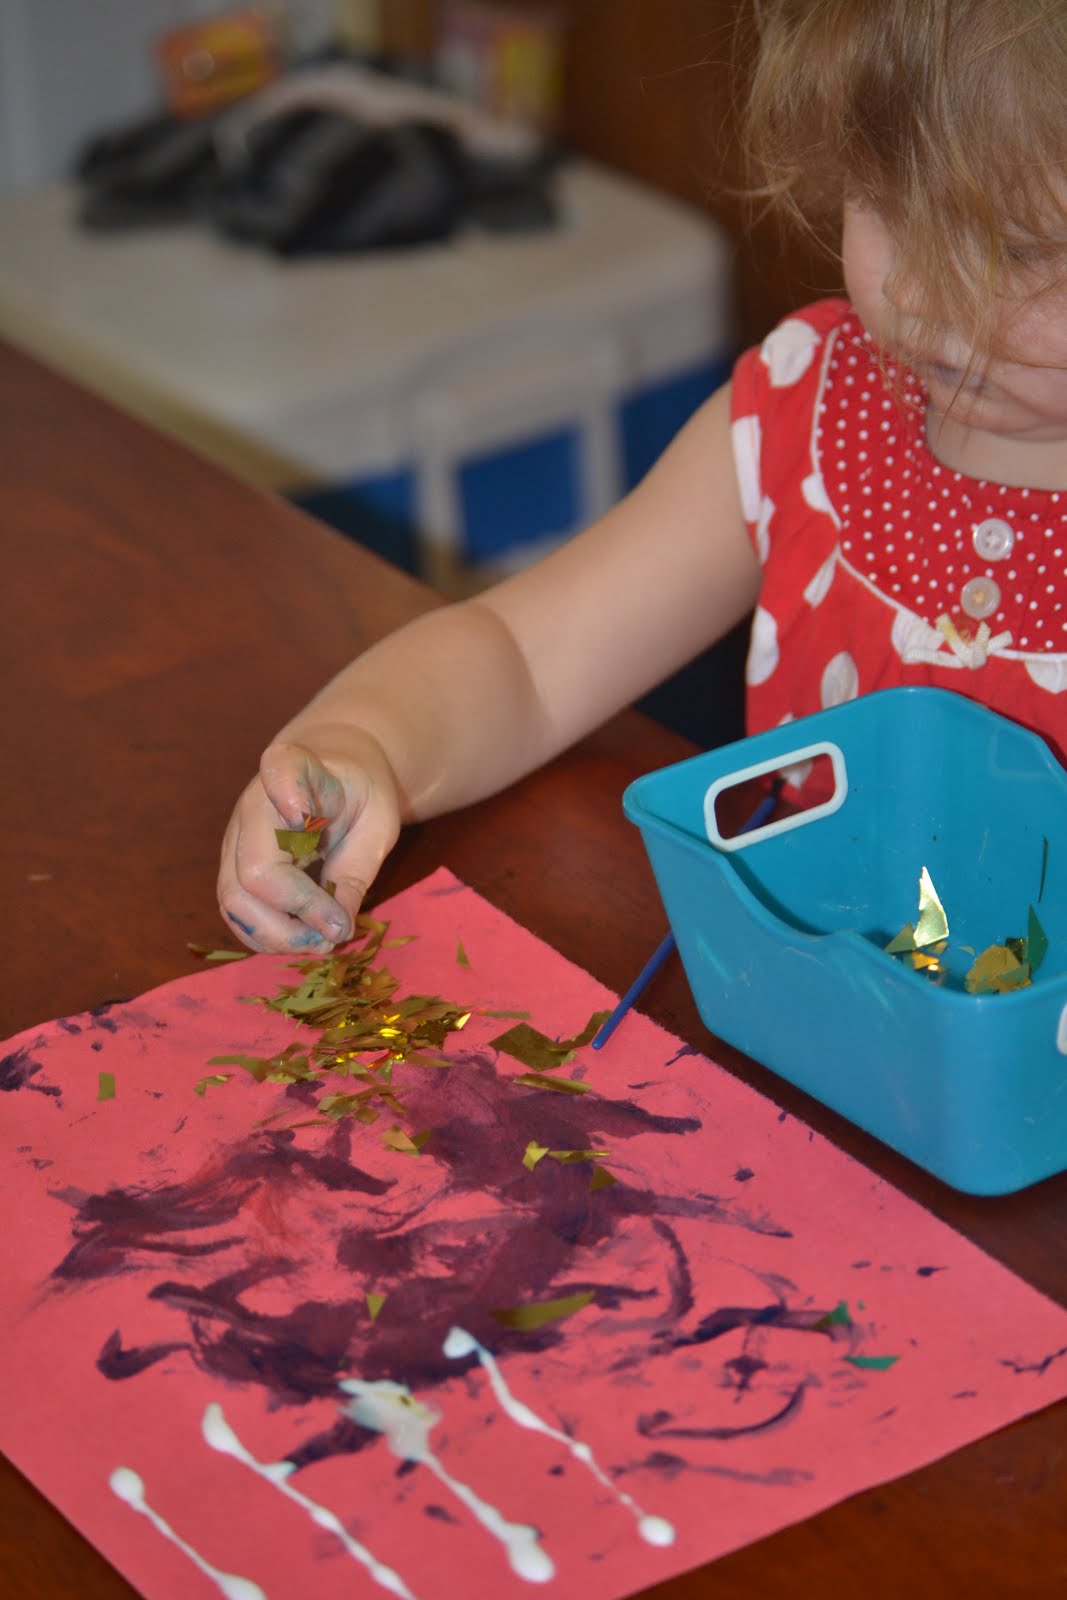
Xanthe didn't quite get them memo on how that was supposed to go, but it really didn't matter because the point is not to have something perfect, but for us to spend time together being creative:)


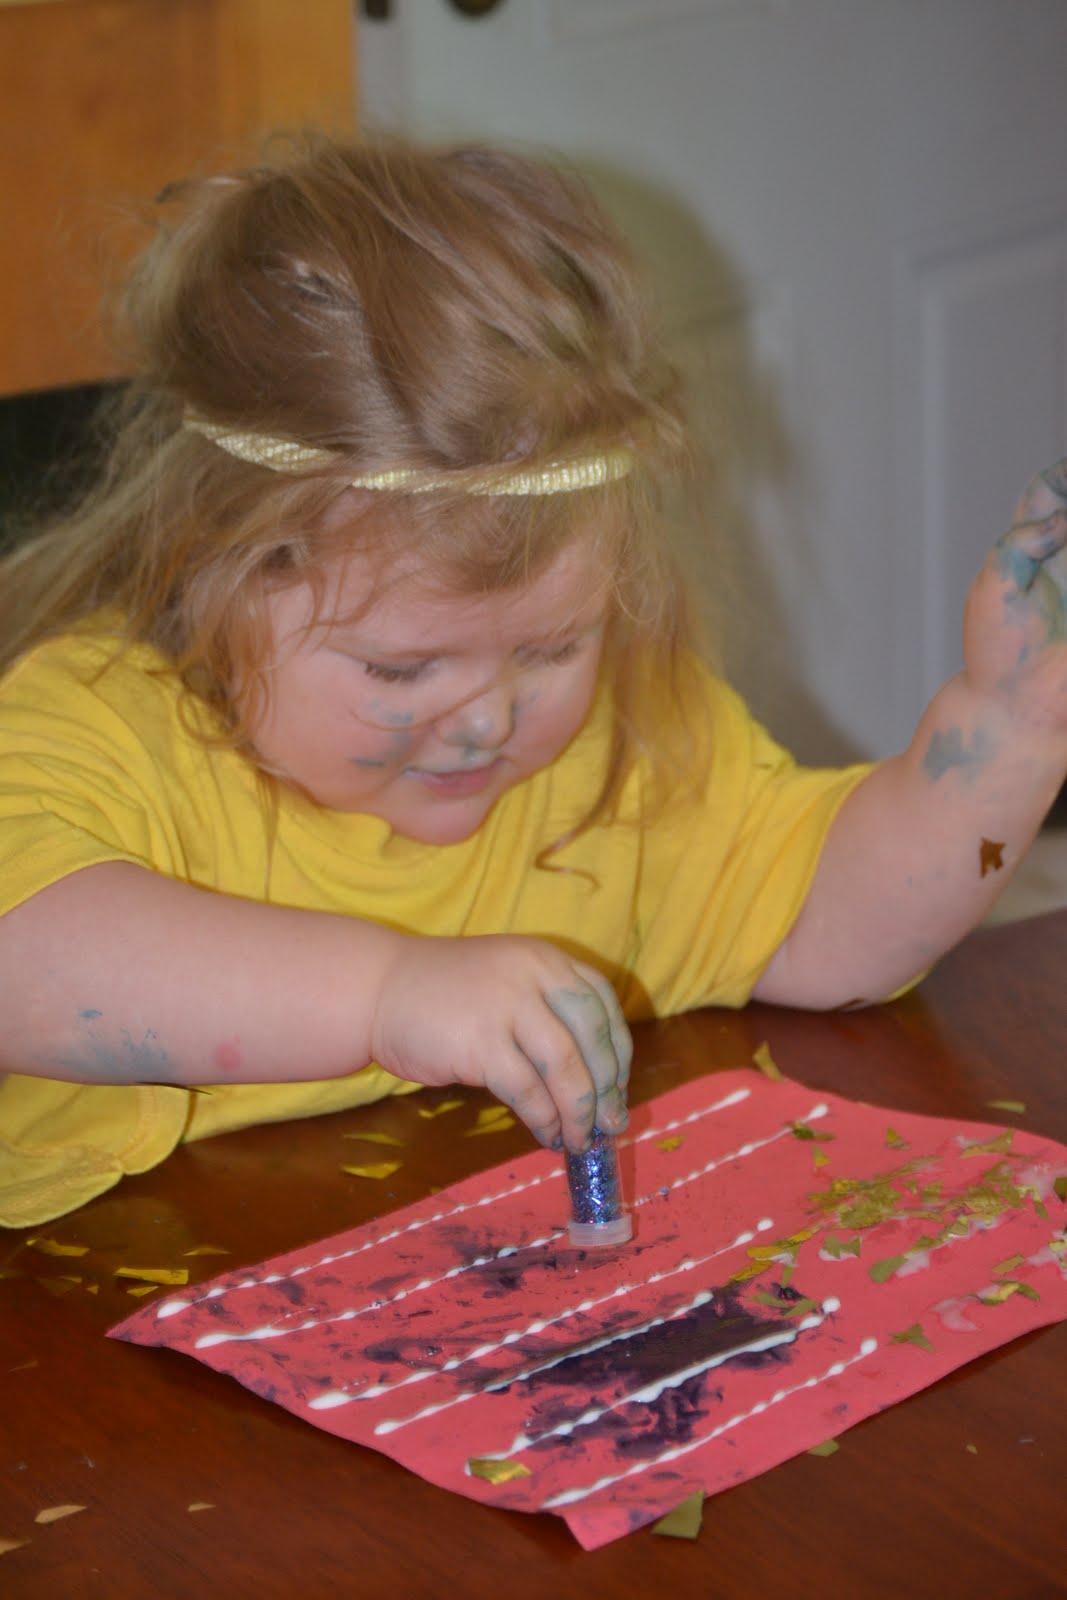
Then I put rows of glue in stripes that they sprinkled glitter over to represent the stripes on the flag. After that, we glued the tongue depressors to the bottom left back of the paper...and, tada! Our patriotic masterpiece!

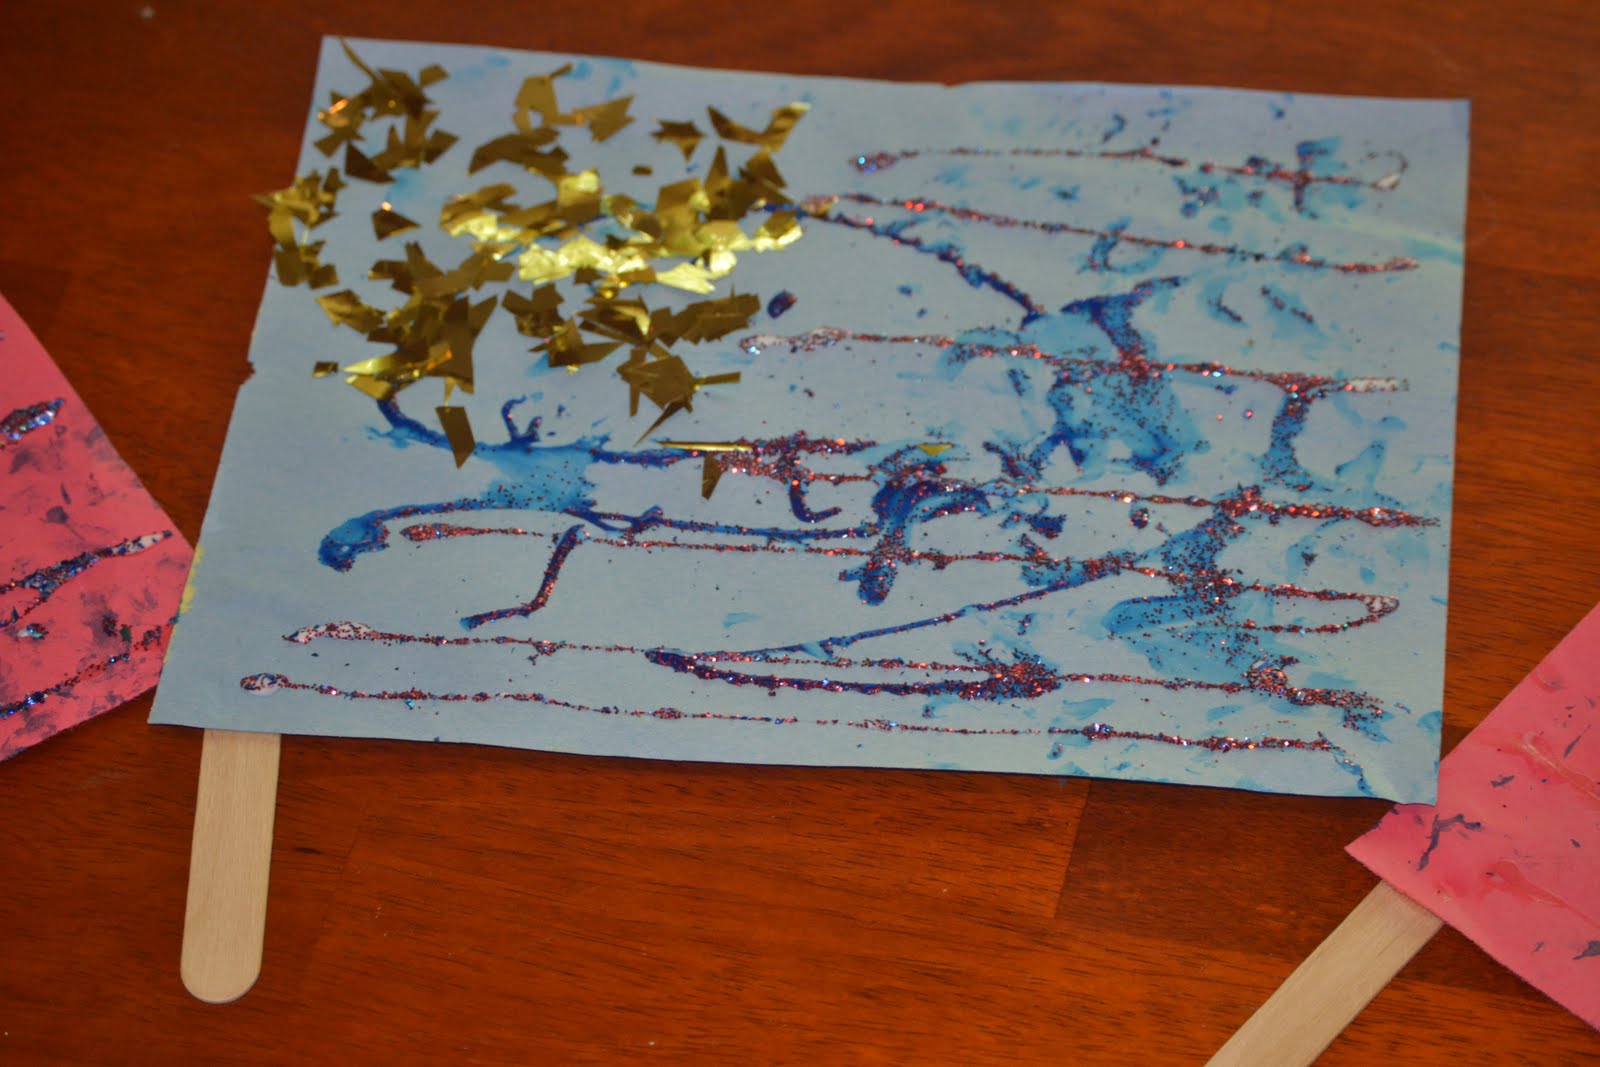
Annezly's Flag (with LOTS of help from Mommy)

Xanthe's Flag

Zaeva's Flag

Spring Flowers, Lifetime Memento


The days go by so fast, and they turn to weeks and then months, and then years go by in the blink of an eye. So, I had an urge to do a craft project that would allow me to capture my girls little chubby baby hands and feet and still be something they could enjoy doing. So we made flowers using their little hand and feet prints.

What you'll need: pre-cut stems and leaves (unless your Little is coordinated enough to handle safety sciccors), glue, solid colord construction paper for the background and also for them to make their handprints on, sciccors, finger paint, and any other embellishments you choose.

I put my Littles in the tub and had a big fingerpaint play date for them and while they were in there I was able to get their little hand and foot prints done.

Then, after they were dry, I cut them out and let the kids paste to their hearts content. 


Even Daddy got in on the fun and helped Xanthe! 


I ran to the store after and got three 8x10 diploma frames and their art work was hung on the wall in no time!

No Crying Over Broken Crayons!

Moms! (and Dads, etc) Don't throw away those broken crayon pieces! It's very important for little ones to be able to color on blank paper. This is what, along with other crafting, helps them to cultivate their imaginations. However, and I know this quite well, little fingers love to break crayons! (And mine love to eat crayons, which is fine as long as they are non-toxic. But it does make for very interesting, rainbow poop...just saying.) So, I had all of these little peices of crayons, and just as I was about to throw them away...I had a brainstorm! I would make crayons out of them. Big, chunky, multicolored crayons. And I did so with the help of my girls.

What you'll need: Broken Crayons, of coarse. (I kept mine stored in a wipey box until I had enough to use for the project).


Make sure you remove the paper from the crayons!

 A baking sheet covered with aluminum foil. Then make little boats for you crayon to melt in. I sprayed my little boats with cooking spray to help the molded crayons pop out of the foil easily. Pre-heat the oven to 250* and you'll only leave them in there for 4 minutes.


                        The girls helped sort and group the crayons into the colors that they liked.

This was Zaeva's favorite part.

Xanthe helping to make the aluminum foil "boats" to melt our crayons in.

Crayons ready for the oven!


Yay! Hope you all have as much fun making crayons as we did!

Thursday, May 19, 2011

Fast, Fun, Easy, CLEAN Fingerpainting

So, I know how it is. You want to do something fun with the kids. Something artsy. Something quick, before you lose your motivation, their good mood or before you pull out your hair. I have three, 3 and under. Believe me, I know! The fastest thing to do is pull out some paints. But that's so messy! You have to put down newspaper and put on art smocks then you wind up giving baths afterwards anyway because there's paint in your kids hair and paint on the floor and its dripping from the ceiling fan. How did it get up there, anyway?


Okay, so, after playing this scenario a few times I discovered a better way to let my kids paint. And they love it! I simply strip the kids, dump finger paints into the bath tub, insert kids and I'm done.

You would be surprised how long they will play with paint in a dry tub. I've clocked my kids at an hour.


 And if you want refrigerator art, just take some construction paper in the bathroom with you and let the kids paint on it in the tub. Show them how to make hand prints and foot prints. "What happens when you get paint on your bottom and sit on the paper?" So many fun things you can do with this. And a great aid in teaching body parts. "Can you paint with your knee? How about with your elbow?" So on and so forth.


When I do Christmas projects or I am trying to teach the colors of Christmas, I line the bottom of the tub with craft paper and use red and green finger paint and add red, gold, green, and silver glitter and let them go crazy with it. When I take it out and let it dry, I have a stock of colored paper painted by the kids that I can use in our holiday projects.


Also, you can tape paper to the walls of the tub area and let them paint as if they were hung on easels. And it's very much cheaper and cleaner than using an easel. Make sure you use a washable, non-toxic finger paint so as not to stain the tub or stain or sicken your children.
When your finished painting, just turn on the bath water and give the kids a bath! They love seeing the water change color and my girls love helping me clean the paint off of the shower walls. And its a great way for my infant to participate with the big girls doing artsy stuff. My 9 month old loves it!